Hey photographers, here’s the second installment of our Photography 101 articles by Pepper Perfect. Today we’ll be covering the technical aspects of a digital SLR camera. There’s a lot of different settings on your camera, and it can be confusing to figure them all out on your own.
The simplest way to understand how all the different settings work is to remember this one thing: every setting will change only thing, how much light is let into the camera, or how bright or dark the image will come out. There’s 3 main settings that you’ll be changing, they all have their own pros and cons and side effects, and learning how to mesh them all together based on the look your going for will help you narrow down your vision into your photos.
Aperture
Aperture will be the “Av” setting on your camera, which means Aperture priority. What this means is that you can manually choose the aperture, but all the other settings will be automatic to try and find the best setting to make your image come out right in terms of brightness. Aperture (also known as “F-stop”) changes how much light is let into the lens by changing the size of the opening from the aperture blades inside the lens. You can actually see this hole get bigger and smaller by looking into the lens while changing the aperture number.
The one thing that can be confusing about aperture is that a bigger number does not make the image brighter, but a smaller number does. An F-Stop of 1.8 is a very low number, and will let a significant amount of light into your camera, meaning you can take pictures in very low-light situations. A low f-stop has another effect besides just a brighter image though.
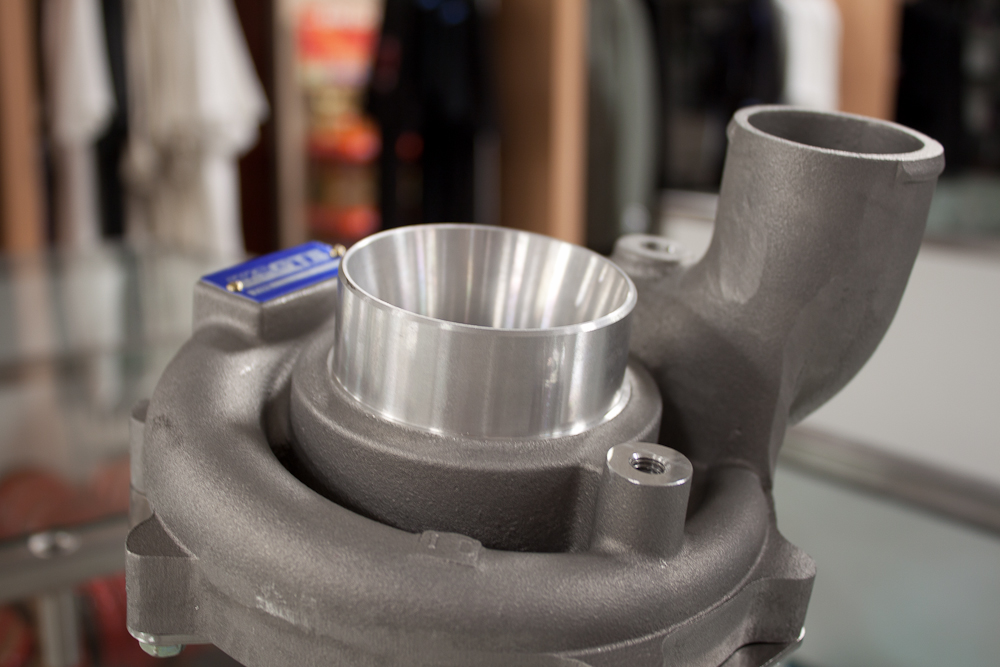
Another term you’ll need to remember is “Depth of Field” (commonly referred to as DoF). What DoF is is the difference in focus from your subject matter, and all the background material in your photo. Having a very low f-stop number set will cause your background material to be very blurry, while having the subject in focus. You can see an example of this with this picture of a turbo:
F-Stop: 4.0 Shutter Speed: 0.4 Second ISO: 100
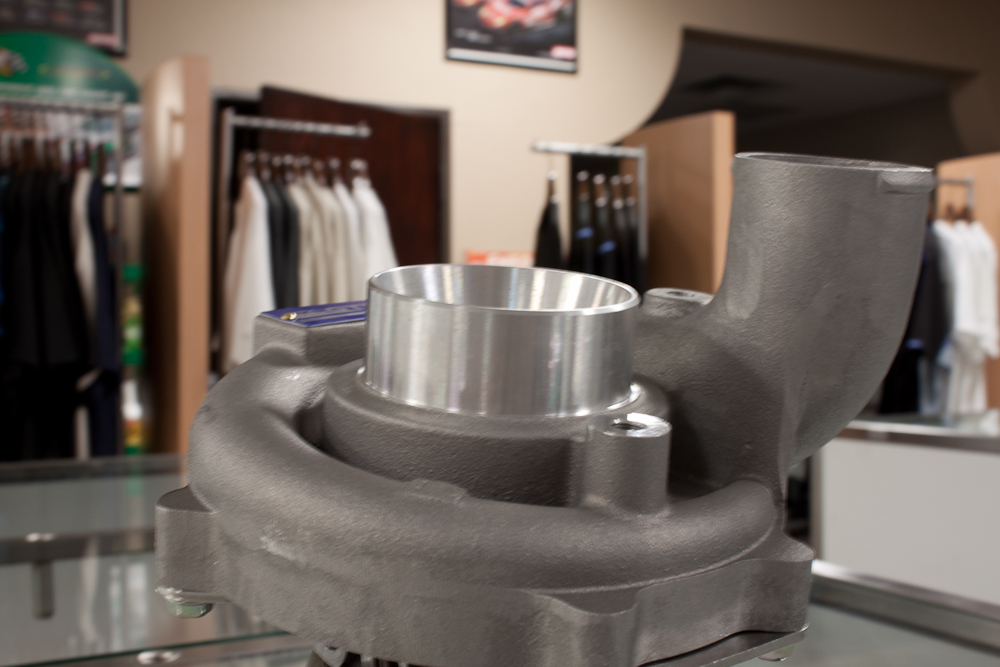
Having a higher f-stop number will let your background remain somewhat more in focus while also keeping your subject matter in focus as well, such as this:
F-Stop: 10.0 Shutter Speed: 2 Seconds ISO: 100
The downfall of course to having a higher f-stop number is that your picture will be quite a bit more darker, which means you’ll have to mess with some other settings on your camera, such as the:
Shutter Speed
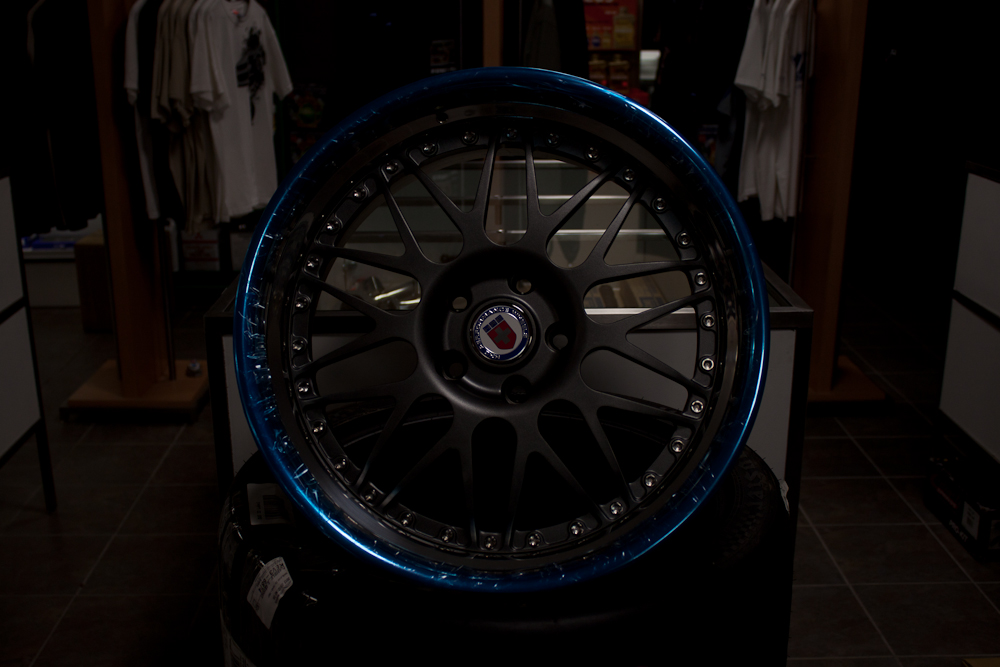
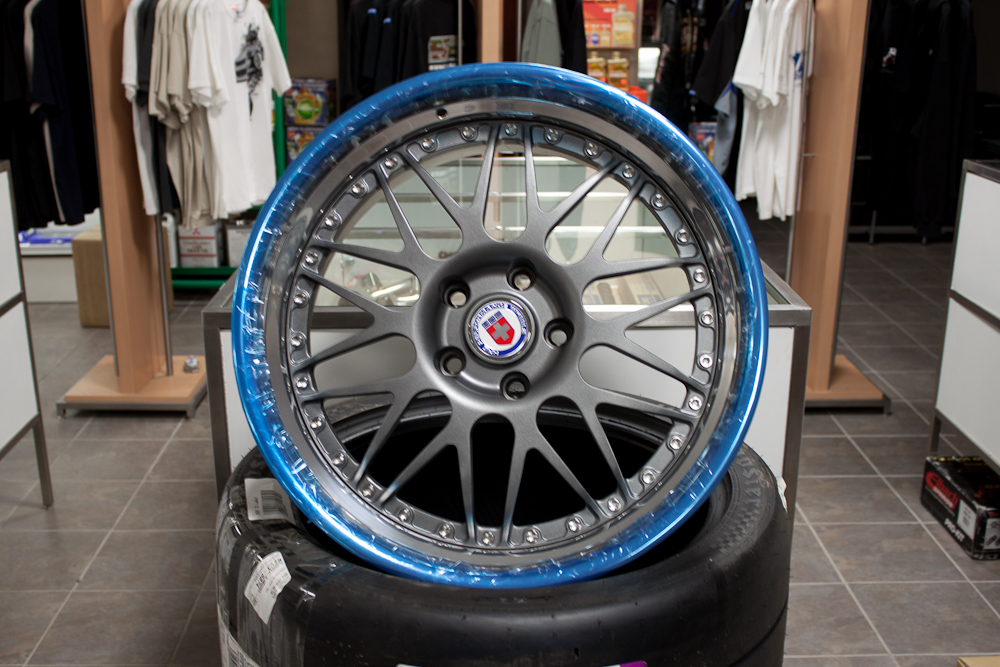
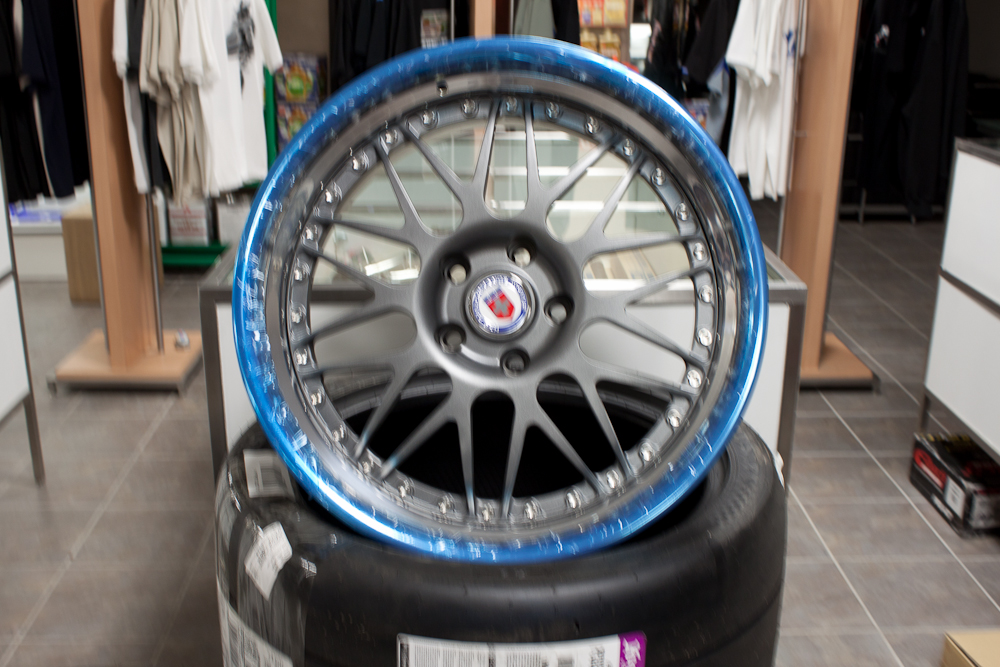
Shutter Speed (the Tv or Shutter Priority setting on your camera) is the camera setting which determines how long the shutter will remain open when you push the shutter button to take a picture. Whenever the shutter is open, your camera’s sensor is gathering every bit of light that is in front of your camera, and if the shutter remains open for a longer period, the more light that will come in making your picture brighter. The downside to this is that if there is any shake, or tiny movements of your camera because you’re not holding it in the exact same spot, the source of the light will be coming from different spots, which will cause a blurry image.
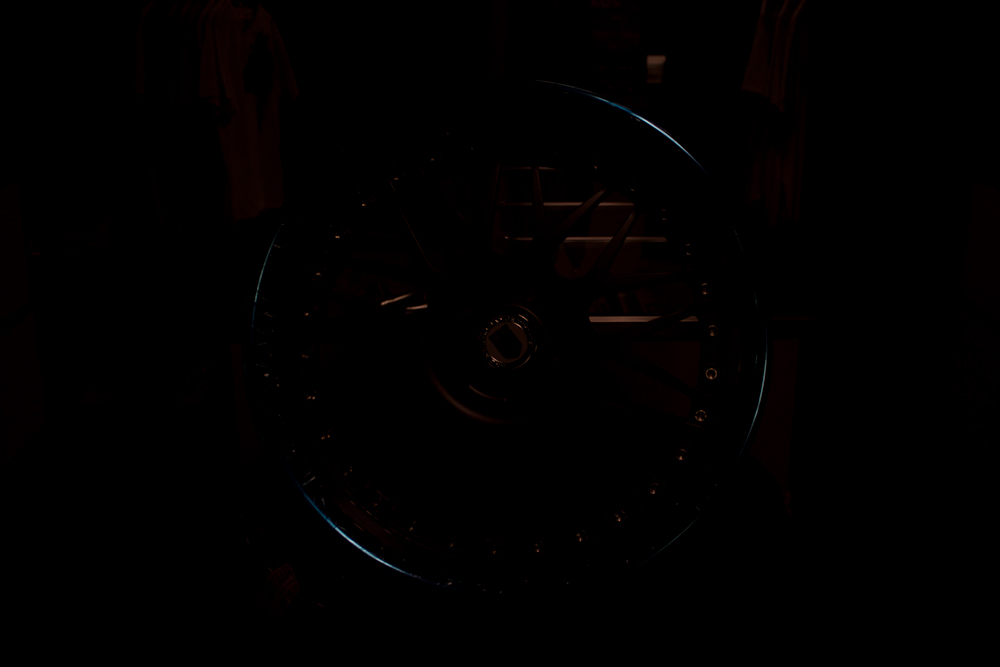
You need to practice different stances, holding techniques, and breathing tricks to help hold the camera steady with longer shutter speeds — or of course use a tripod (although this will really limit your mobility and possible angles, especially in a quick photo situation.) It’s easy to confuse a slightly blurry image with a slightly out of focus image, so it’s important to notice the shutter speed, if you’re pictures aren’t looking especially sharp. It’s very difficult to get a very sharp image handheld with a shutter speed of anything slower than 1/100th of a second. Here are some examples of the type of pictures you can expect at different shutter speeds:
F-Stop: 4.0 Shutter Speed: 1/200th Second ISO: 100
F-Stop: 4.0 Shutter Speed: 1/30th Second ISO: 100
F-Stop: 4.0 Shutter Speed: 0.3 Second ISO: 100
F-Stop: 4.0 Shutter Speed: 0.8 Second ISO: 100
ISO
The last main setting we’ll be covering is ISO, which is a purely digital setting, not having any real physical effect on what your camera does. Unlike the Aperture setting, the lower the ISO number, the darker the resulting image, and the higher the number the brighter. The resulting side effect from making your ISO number higher is a “grainy” image. Sometimes a grainy image can be cool, but only if it’s grain that’s added in in a program after the picture is taken, ISO causes “digital grain” which is different, and never looks cool.
Depending on your camera model, the higher you can go with your ISO number without getting a significant amount of grain because of more advanced technology. For these example pictures a Canon Rebel T1i is used, which doesn’t let you go past ISO 3,200, and is very grainy at 3,200.
F-Stop: 5.6 Shutter Speed: 1/4th Second ISO: 100
F-Stop: 4.0 Shutter Speed: 1/100th Second ISO: 3,200
As you can see, the second image has a very noticeable grain throughout because of the high ISO number.
Our next article will cover the basics behind framing and composition, and learning the different angles and perspectives you can take that will really make your pictures pop.
Thanks for reading and hope it helps,
Snapshot
